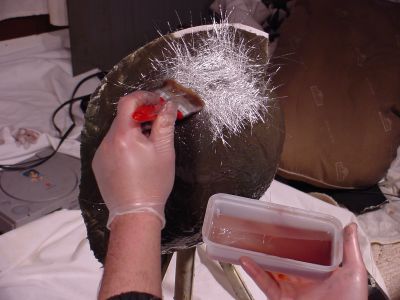
Then, one side is gel-coated with a
brush, to give a decent sandable layer inside the mold.
1)What is that fibrous cloth stuff you
put on with the resin? Did it come with the resin?
The cloth is fiberglass STRAND MAT, which is sold
separately from the resin. I don't advise using "woven
cloth" for masks, strand mat works better for all the odd angles
and curves.
2)What is the gel-
coat stuff you used to coat the clay before applying the resin?
Gel coat is a jellied form of resin, making it not
runny, and more sandable. The easiest thing to look for is called
BONDO RESIN JELLY which comes in a dark green container.
3) Where did you get this stuff at? (hardware,
boating supply, auto parts
store, etc.
All of this stuff can come from an auto parts
store, or even the auto section of Wal-Mart, except for the MOLD RELEASE
AGENT. The only place to get the release agent supplies is through
a fiberglassing supply dealer, such as www.fiberglast.com
Mold release agent and wax are very important in keeping the mold from
sticking to the mask. You will need PARTING WAX and PVA mold
release agent. to finish the inside of your mold before you try to make
a mask in it, otherwise it will permanently stick and ruin the mold and
the work you have done creating it. It is not necessary to wax and PVA
the original clay sculpture before making a mold on it, but a
thin coating of PETROLEUM JELLY (vaseline) does make it a lot easier to
remove the clay from the inside of the new mold.
There is an online brochire that is very helpful
to beginners here:
This outlines the basic steps needed to make a
mold and to make a part from a mold.
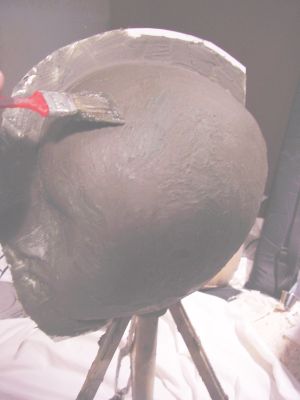
I like to completely finish one side
before starting the next, so the next thing is resin:
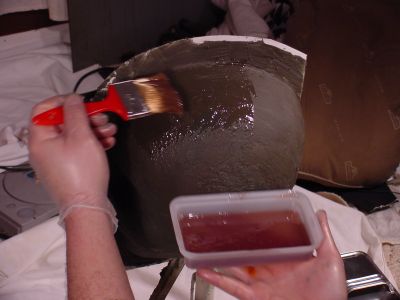
Then building up of resin
saturated cloth over the whole thing.
Until it's covered well and thick, even
up onto the dam, which will be a bolt-flange
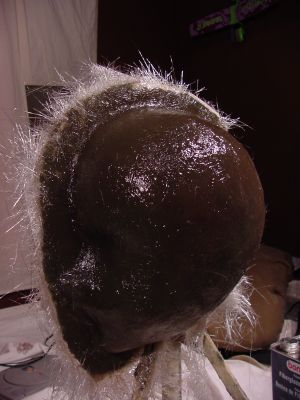
Then, do it all on the other side, and
let it cure hard.
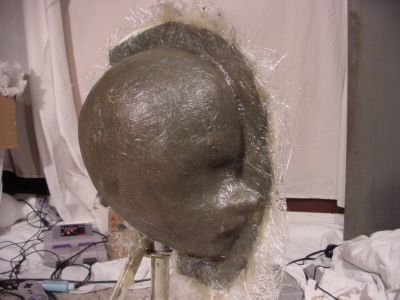
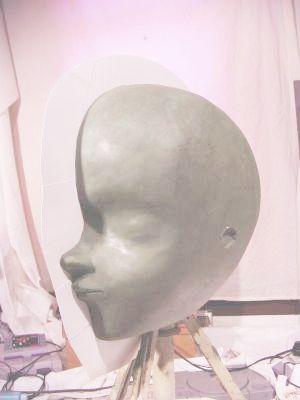
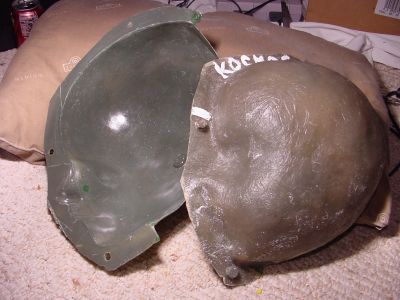
Then, you mold is made... basically, but
it still has 30 pounds of clay in it, and it rough edged and still
unsurfaced. First, trim off the excess crap with a large power
saw... Time to wedge it open and remove the clay The original
sculpture is destroyed, yet permanently memorialized by the mold.
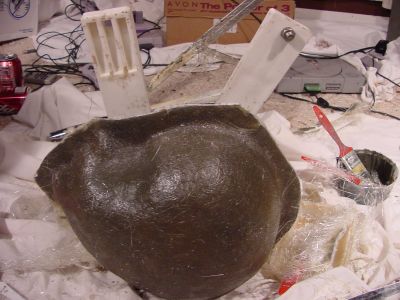

Then after the very tedious process of
removing the clay, and the day-long job of surfacing the inside of the
mold, you get it prepared for casting the mask, (wax coats and mold
release agent, drill holes, bolts, etc...)
And finally its done! (The mold, at
least...)

Then, you build the actual mask inside
this mold, through the opening you left in back (the head opening)
It's about the same process as the mold
itself, gelcoat, resin, cloth etc.. And if all goes well, out comes a
mask when you separate the halves again. It needs a bit of scrim
removal and sanding, and occasionally some spot-work, but usually ends
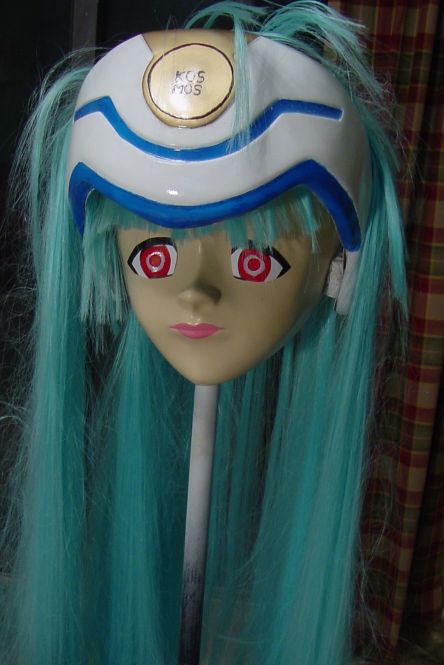
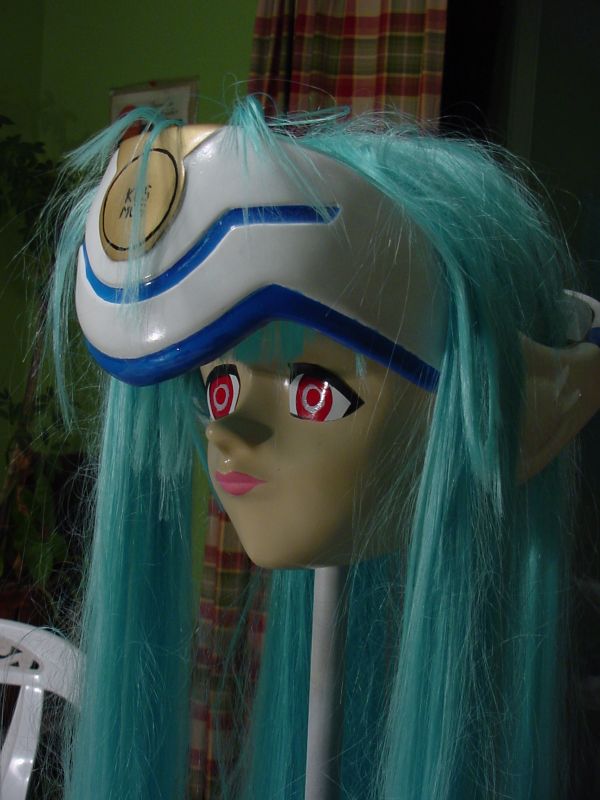
up like the sculpture . Here's the (Kos-Mos)
mask with a rough test-coat of paint: In shape, an exact dupe of
the sculpture.....
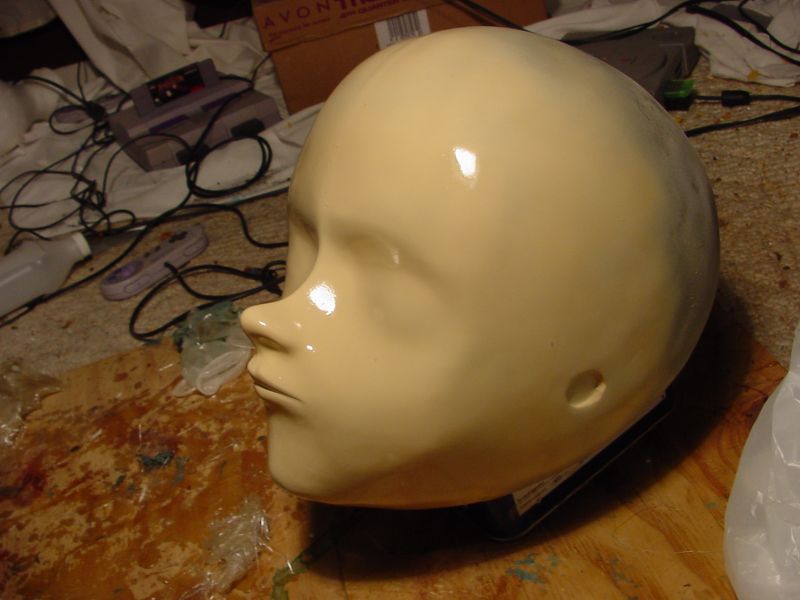
The base mask is finished!
Well, on to the rest of the headgear
pieces! I've got to use this shell to make sure the headgear is correct.

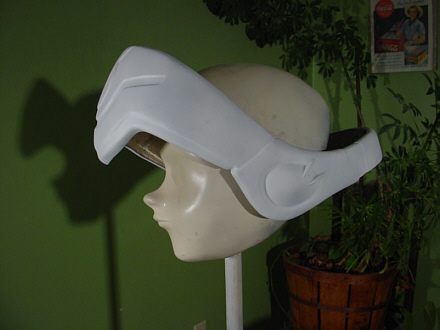
Here are 2 photos of the finished head gear for
Kos-mos. The mask and head gear are ready to be painted and the wig attached.